Windows 11 is an exciting new operating system from Microsoft that brings many new features and improvements to users’ computers. One of the most significant changes in how your computer handles personal information. Here are some Windows 11 privacy settings you should change which will improve your privacy exposure. By disabling these settings, you will be less likely to have your data collected and tracked by Microsoft. Windows 11 offers some great privacy features, but Windows 11 offers even more. By disabling certain settings in Windows 11, you can improve your privacy.
Also, the article will cover tips that will improve your PC performance, CPU Usage, and Memory Usage, as well as some tips on organising your documents and adding Quick Links.

Please ensure that you complete the following tasks below before proceeding.
- Take a full system Backup of your Data
- Create a Windows 11 System Restore Point
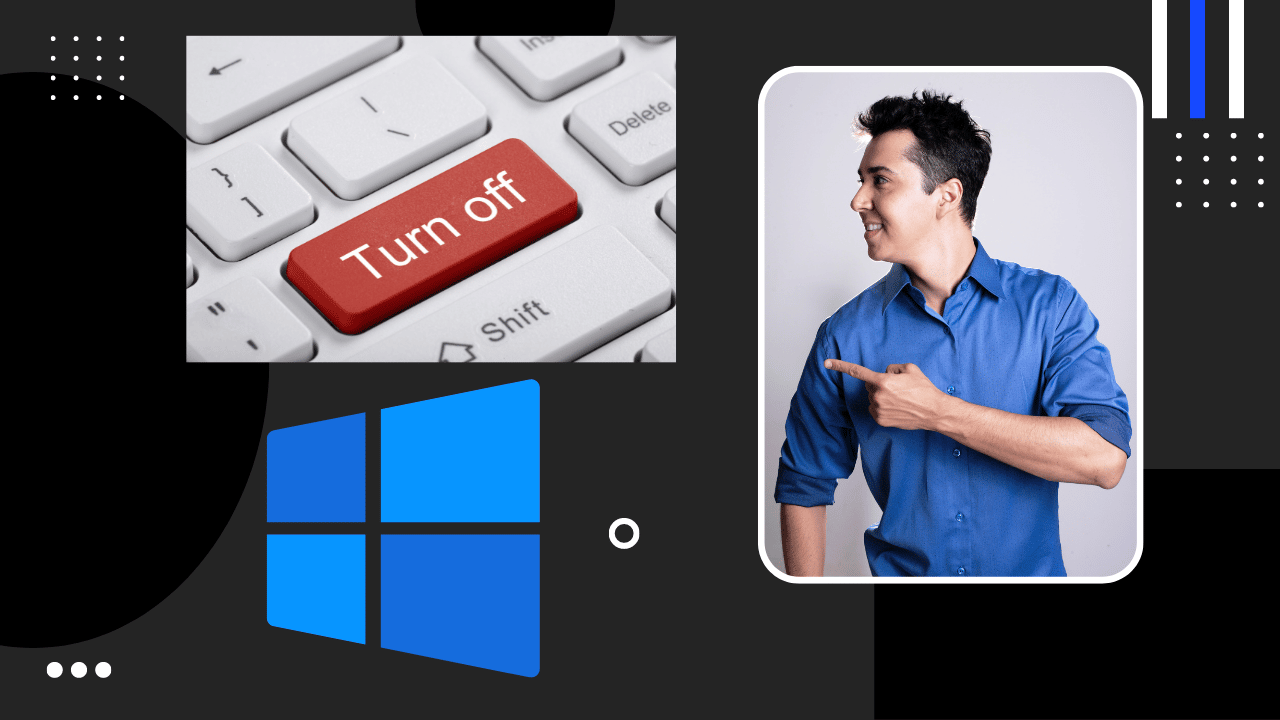
1. Windows 11 Notifications and Ads
As Windows 11 is going to be even more focused on ads and notifications. In the Technical Preview of Windows 11, it was found that there were more ads and notifications than ever before. The ads and notifications pop up when you use Windows 11 in the following areas below.
Now we are going to remove the following annoying ads and notifications that pop up when you are using Windows 11 and on windows startup. If you want to keep your personal information private, you'll want to make some changes to your Windows settings. now to improve your privacy Following the steps below to disable these notifications and Ads
- Right Click the Windows Start Button
- Click Settings
- Click System on the left-hand Menu
- Now select Notifications for the Menu, and scroll down until you find the section below.
Now, Deselect all the checkboxes below.

2. Now to disable the Promoted Apps in Windows 11 Settings
Windows 11 has a lot of new features. One such feature is the promoted apps that appear on the start menu. These apps are supposedly there to help you get started with your computer, but many users find them to be more of a hindrance than a help. The section below will show you how to disable these promoted apps in the areas below.
- Promoted Apps in the Start Menu
- Suggested Content
- Search Results
- Right Click the Windows Start Button
- Click Settings
- Click Privacy and Security from the left-hand Menu
- Now select General for the Menu, and Deselect the following checkboxes below.

3. Disabling Online Speech Recognition in Windows 11
Windows 11 comes with a built-in speech recognition feature that can be used to control the operating system with your voice. However, some users may find this feature inconvenient or even annoying. If you want to disable speech recognition in Windows 11, follow these simple steps.
- Right Click the Windows Start Button
- Click Settings
- Now Click Speech from the menu.
- We now want to ensure this setting is set to off as below.
4. Disabling Inking & Typing Personalisation

In Windows 11, Microsoft introduced a new way to personalize your computer with Inking and Typing. This feature allows you to change how your keyboard and pen work together. However, some users may not find this feature helpful or be unable to use it at all. If you are one of those people, there is a way to disable it below.
- Right Click the Windows Start Button
- Click Settings
- Click Privacy and Security from the left-hand Menu.
- Now Click Inking & Typing Personalisation from the menu.
- We now want to ensure that this is set to off.

5. Disabling Diagnostic & feedback
This feature is called the diagnostic and feedback option. They allow Microsoft to collect diagnostic data about how you use your computer and send it back to the company. While this data collection can help improve the Windows experience for all users, some people may not want to participate with this optional diagnostic data. If you would like to disable these features, follow these steps:
- Right Click the Windows Start Button
- Click Settings
- Click Privacy and Security from the left-hand Menu.
- Now Click Diagnostic & feedback from the menu.
- Ensure that all app permissions are set to off as per the screenshot below.

5. You may also like to delete the diagnostic data already stored on your computer. You can do this by selecting the drop-down menu to the right and then selecting delete.

6. Activity History
Windows 11 activity history is a new feature in the operating system that allows you to see a list of all the apps and programs you've used on your PC. Here's how to change your settings for better privacy.
If you're concerned about your privacy, you should know that Windows 11 tracks your activity and saves it in an activity history. This history includes a list of all the apps and programs you've used on your PC, as well as when you used them and for how long.
- Right Click the Windows Start Button
- Click Settings
- Click Privacy and Security from the left-hand Menu.
- Now Click Activity History from the menu.
- Now, uncheck the tickbox highlighted below

7. App Permissions
In Windows 11, Microsoft introduced a new feature called "app permissions." This allows you to control which apps can access your camera, microphone, location, and other sensitive data on your computer.
By default, many of these permissions are set to "allow all," which means any app can access your data without asking for permission. You will want to review these App settings and set the right options that best suit you. Below you will see examples of how to modify these settings. We recommend that you review all the App Permission settings, and we also recommend making a note of the settings before taking a Windows 11 restore point.
- Right Click the Windows Start Button
- Click Settings
- Click Privacy and Security from the left-hand Menu.
- Now, scroll down to App permission Settings

5. We will first look at Location Services as an example
8. Location Services
We can see below all the App Permission settings for location services are turned on. We now have two ways to disable these we can either uncheck the apps individually, or we can switch off Location Services altogether using the global setting at the top of the page.

We can see below all the App Permission settings for location services are turned on. We now have two ways to disable these. We can either uncheck the apps individually as below.

Alternatively, we can switch off Location Services altogether using the global setting at the top of the page.

9. Microphone Access
By default Windows 11, apps have access to your microphone and can listen in on everything you say. If there’s an app that you don’t want snooping on your conversations, you can deselect it individually or all together as before in the camera and mic permissions.
As Before App Permission settings for Microphone options are turned on. We n disable them by either unchecking the apps individually or we can switch off Microphone Services altogether using the global setting at the top of the page.

We can see below all the App Permission settings for Microphone services are turned on as well as camera access. We now have two ways to disable these. We can either uncheck the apps individually as below.

Alternatively, we can switch off Microphone Services altogether using the global setting at the top of the page.

10. Applications and Features
In Windows 11, there are tweaks that we can make to allow your computer to run faster and also, more importantly, more securely at the same time.
Downloading Apps
Windows 11, allows you to download Apps from any location on the internet, which is not the most secure option. Below you will see that we can select where we download Apps from and select trusted download sources.
- Right Click the Windows Start Button
- Click Settings
- Click Apps from the left-hand menu
- Apps & features

Now, we have the following options that we can choose from for our download sources below.

For the best security and to ensure that you are not downloading unsure Apps, we suggest you use the Microsoft store only, which is the recommended option below.

11. Disable Windows Start-Up Programs
Windows 11 is the latest version of Microsoft’s operating system, and it comes with a range of new features that allow users to customize their experience. One of the most important settings you should change immediately is disabling start-up programs. Doing so can help improve your computer’s performance, free up resources, and protect your privacy.
Start-up programs are applications that automatically run when Windows 11 boots up. These programs can take up valuable resources, resulting in slower performance speeds and increased security risks as malicious software may be embedded in them. The big bonus as well is that this improves your computer boot-up time and allows you to control your third-party app installation on your computer. Below we will show you how to review and disable these start-up programs from the Windows 11 settings.
- Right Click the Windows Start Button
- Click Settings
- Click Apps from the left-hand menu
- Now, scroll down and select Start-up from the menu
You will now see a list of all the apps on your computer that are set to start up when you power on your computer. Also, you can see the impact level that the app has on your system resources from the rating on the left of each app from no impact to high.
We recommend you review each app in turn and maybe switch off the start-up function for one or two apps at a time, and then restart your machine. As an example switch off Cortana, Steam, and RAVCpl64 each individually and test my system. Remember that you are stopping the app from working. You are just stopping it from start-up at boot and eating up resources.

Watch the Step by Step Video Instead
Personalization & App launches
Now in Windows settings can add quick links to the start menu that easily allows linking different folders on your computer in the settings app. You can do this by following the steps below.
- Right Click the Windows Start Button
- Click Settings
- Then Personalisation from the left-hand menu.
- Scroll down and Select Start
- And finally, Select Folders
You will now see the folders that you can activate below

Here are some useful options to select.

You can see that the start menu box has been updated as below.

Default Browser

When you turn on your computer, the first program to run is the operating system. After that, different programs open depending on what you've designated as your default web browser. Your browser is the one that opens when you click on a web link or type a web address into the address bar.
Many different browsers are available, but most use Chrome, Firefox, Safari, or Internet Explorer. Each browser has its strengths and weaknesses, so it's important to choose one that fits your needs. The Brave browser is lauded for being the privacy-friendly browser that provides built-in functions allowing your browser with more control over privacy. Click Here to read more on the Brave browser and watch the video.
If you're unsure which browser to choose, try a few of them and see which one you like best. The most important thing is to be comfortable using it and to know how to fix any problems that come up.
In the days of dial-up Internet access, it was common to use a single browser on all your computers. But now, most people have a personal computer and a laptop or two, so they need different browsers for each device.
Windows 11 Local Account
One of the best things about Windows 11 is its local account, which provides users with more complete control over their personal data and settings. With a local account, users can decide who gets access to their data and what information they share with others. Here are some essential settings you should change for better privacy when using your Windows 11 local account.
First, make sure your firewall is enabled to keep malicious software from accessing or sending data from or to your computer without your knowledge. You should always use strong passwords for all accounts associated with your Windows 11 computer, including administrator accounts. Additionally, be mindful of which websites you visit and only open links from trustworthy sources this will help protect against malicious websites that could contain viruses or malware.
Online Microsoft Account

With an online Microsoft account, you can access your email, OneDrive, and other Microsoft services. You can also use your account to sign in to websites and apps that use Microsoft services. Your online account is protected by a password and two-factor authentication. You can change your online account settings at any time. You can also use a password manager to keep track of all your passwords. If you have an account, you can add more than one device to your account. The only exception is if you set up your account on a computer with an online Microsoft account. If this is the case, see Set up your account for family and other devices. To add a device, follow these steps: Open a browser and sign in to your account on your computer. If you're setting up an account on a computer with an online account, choose Sign in to start using your Microsoft account.
Encrypted DNS

Encrypting your DNS queries is an essential step in protecting your online privacy. The Domain Name System (DNS) is the system that translates website names into IP addresses, and without it, you wouldn’t be able to access websites. Without encrypting your DNS requests, they can be intercepted by third parties and used to track what sites you are accessing. Fortunately, Windows 11 makes it easy to enable encrypted DNS on your device.
When using the new Windows 11 operating system, you can use the Cloudflare or Quad 9 services as an encrypted DNS provider. Both of these services allow for a secure connection between devices and networks while resolving IP address queries with privacy protection at the same time.
Conclusion
In conclusion, the Windows 11 operating system offers a variety of settings that you can use to protect your online privacy. These include the ability to adjust your privacy settings to manage internet exposure. Taking the steps outlined in this blog will help ensure that your data remains protected while online. It is important to note, however, that no single setting can completely protect you from malicious activities on the web. Therefore, it is important to remain vigilant and regularly review your security settings in order to enhance your security measures further.